3 DIY tips for painting at home
 Giving your home a new look through DIY renovation, is as easy as giving it a fresh lick of paint. Changing the colour that a room is painted will definitely give it a new vibe, or even if it’s just a fresh coat of the same colour.
For some reason, people tend to be extremely wary of painting their own walls; instead opting to pay someone “professional” to do it for them. Let us bestow upon you, some of the most useful tips and tricks for when it comes to painting like a pro.
1. Prepare the surface
Before you begin any kind of painting, you’ve got to think about the preparation. That’s half the battle when it comes to DIY painting. Make sure they walls are clean and protected before starting.
You can do this by taking off any outlet covers, and by putting plastic bags over your light fittings and fixtures. Make sure there are no curtains, cabinet handles or works of art on them either.
Fill in any holes on the surface with some patching-in paste. You’ll want to create a smooth surface for the paint to take to. Wash the walls with water and mild soap, rinse them and allow them to dry completely.
A coat of primer paint is a top idea, as it gives the actual paint job something to stick to. Before you do this, make sure that any varnish is stripped from wooden surfaces such as stairs.
2. Getting dirty
Once the surface is totally prepped, it’s time for the fun to begin. Ok maybe not straight away, as you’ll have to go through the nightmarish headache of picking which size brush to use.
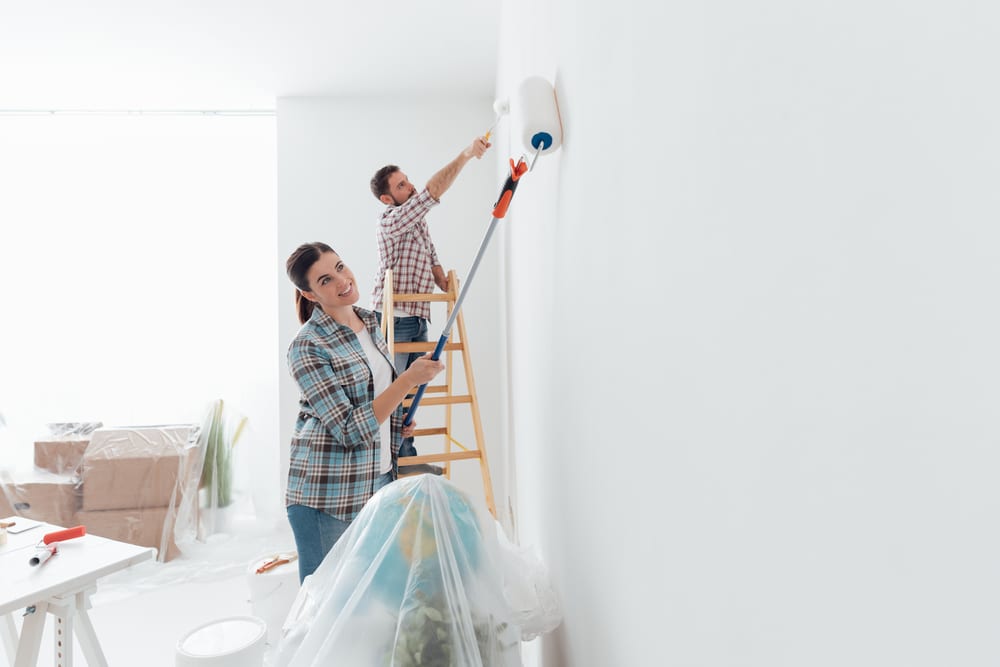
The most efficient way to paint a large room however, is with a roller – so invest in one of those. You can also buy “power rollers”, which can be bought at the local hardware store. Gadgets like this will make the process a little more enjoyable and definitely save you some time and energy.
When it comes to painting in corners and on the skirting-board, you’ll want to use a small brush with angled bristles. Obviously you can use other brushes, but for that perfect and accurate finish, you’ll want to invest in an angled brush.
Choosing brushes will depend on the type of paint you use, and the surface that you’ll be painting. Just for reference, polyester brushes tend to work best for latex-based paints, while natural bristle brushes work better with oil-based paints.
When painting, you’ll want to use the ‘W’ technique. It’s the most efficient way to get a nicely even coat of paint on the surface. You should start in one corner of the wall and paint a 3×3 foot W shape. Once you’ve done this; and without lifting the roller, fill in the lines.
Continue on with small W sections until the whole surface has been painted. Sure this may seem a little tedious, but it will pay off when you get to stand back and look at the finished article.
3. Tape-up
Painters tape is probably the most useful trick in the book. Nearly as valuable as your brush itself.
After placing tape around the edges of the surface to be painted, paint your base coat on. That same base coat acts as a sealant on the tape, as it leaks under and creates an extra bond on the wall. This will stop the colour from running when painted on; helping your finish to look extra professional.
When you tape-up, you can lay it down up to a week in advance of the actual paint job. Be warned though, you should remove it immediately after painting. Do this even before it dries. If you wait until it dries, you run the risk of the tape pulling the paint off.
A new look, a new you
Painting the house can be a fun and enjoyable project, that can result in a whole new look for your abode. If you decide to do it yourself, it’s something that you can be proud of every single day.
If you follow these tips and tricks, you can transform the rooms in your house beautifully, and avoid any potential DIY disasters.